


 Crush
Crush


Initial Steps to Crafting Your First Candle
08/11/2023
Embarking on the candle-making journey can be both exciting and a tad daunting. But fear not, aspiring chandler! This guide will break down the initial steps to ensure your first candle-making experience is smooth, enjoyable, and sets the foundation for many more to come.
1. Gather Your Materials
Before you can dive in, you’ll need some basics:
– Wax: Choose from paraffin, soy, beeswax, or any of the waxes we discussed in our previous article.
– Wick: The right wick size and type is essential. Consider the size of your container and the type of wax you’re using.
– Container: This can be a mason jar, a vintage teacup, or any heat-proof container of your choice.
– Fragrance or Essential Oil: This is optional, but it’s what turns a regular candle into a scented masterpiece.
– Melting Pot: To melt and pour the wax.
– Thermometer: Essential for monitoring the wax’s temperature.
2. Setting Up Your Workspace
Find a clean, flat surface in a well-ventilated area. Lay down newspaper or parchment paper for easy cleanup. Have all your materials within arm’s reach to keep the process flowing smoothly.
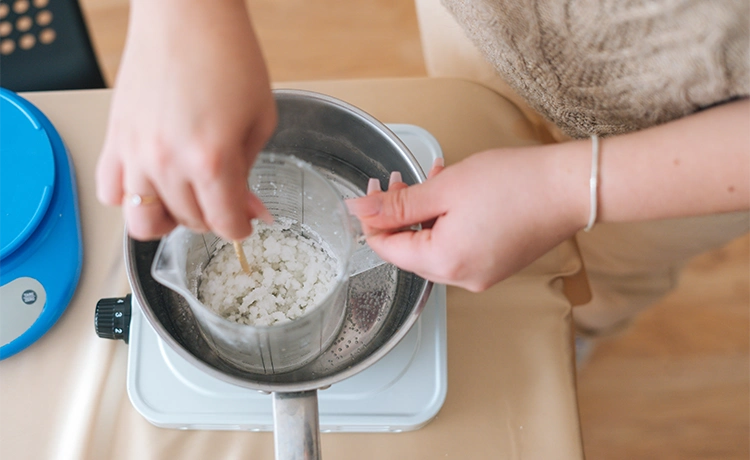
3. Melting the Wax
Fill a pot with a few inches of water and place it on the stove. Insert your melting pot, ensuring that water doesn’t get inside. Add your wax. As the water heats, the wax will begin to melt. Use your thermometer to monitor the temperature. Most waxes have a recommended pouring temperature—typically between 130°F to 180°F.
4. Preparing the Wick
While the wax melts, secure your wick to the bottom of your chosen container. You can use a dab of hot glue or a piece of double-sided tape. Ensure it’s centered.
5. Adding Fragrance
Once your wax reaches the desired temperature, remove it from the heat. If you’re adding fragrance or essential oils, now’s the time. Stir thoroughly for a couple of minutes to ensure even distribution.
6. Pouring the Wax
Slowly pour the wax into your container, leaving about half an inch from the top. Use a pencil or chopstick to wrap the top of the wick around, helping it stay centered as the wax cools.
7. Cooling and Curing
Let your candle cool for at least 24 hours. Once set, trim the wick to about 1/4 inch above the wax’s surface. For the best fragrance and burn, allow your candle to cure for several days before burning.
8. Lighting Your Creation
After the curing process, it’s finally time! Light your candle, sit back, and enjoy the fruits of your labor.
Candle-making is a blend of art and science, but with patience and practice, anyone can master it. This guide provides the foundational steps, but remember, every candle-maker has their own unique touch. As you gain experience, don't be afraid to experiment and make the process your own. Happy crafting, and welcome to the world of candle-making!
Discover our other articles
My French Perfume has everything you need!
Sourcing Ethical and Organic Candle Materials
Discover

Free Shipping
On Orders Over $100

Customer Service
Available by Email: [email protected]

Express Shipping
All Orders Processed Within 24 Hours (excluding high demand periods), Monday to Friday.

Product Origin
Made in USA

Product Quality
Fragrances Free from CMR (Carcinogenic, Mutagenic, Reprotoxic) Agents